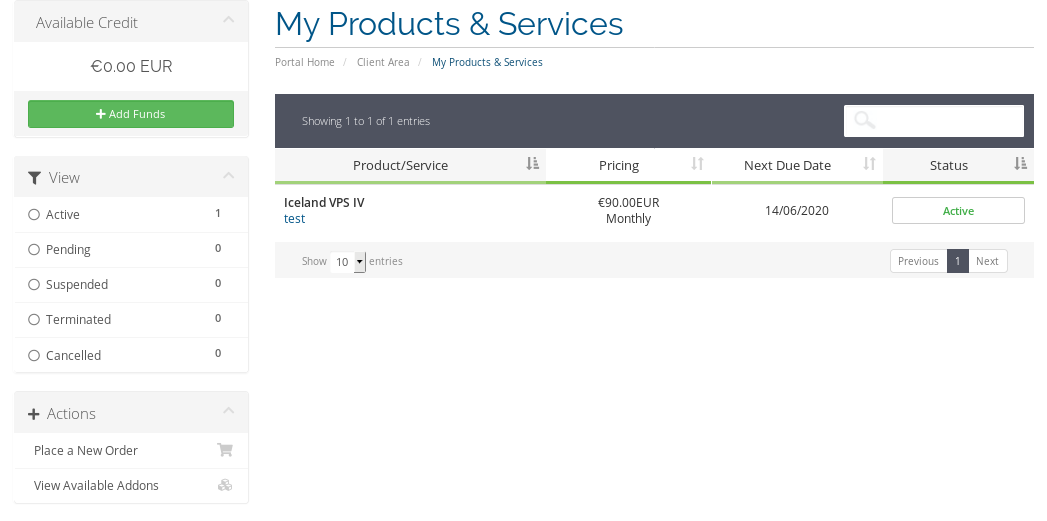
Current storage details:

1) At the VPS Management Area:
1.1) Change Boot Order, Set Disk Image file to GParted, Stop/Boot the VPS and Open noVNC Console

2) At noVNC Console after ISO Loads:
2.1) "Don't touch Keymap"
2.2) At language settings: 33
2.3) Mode: 0

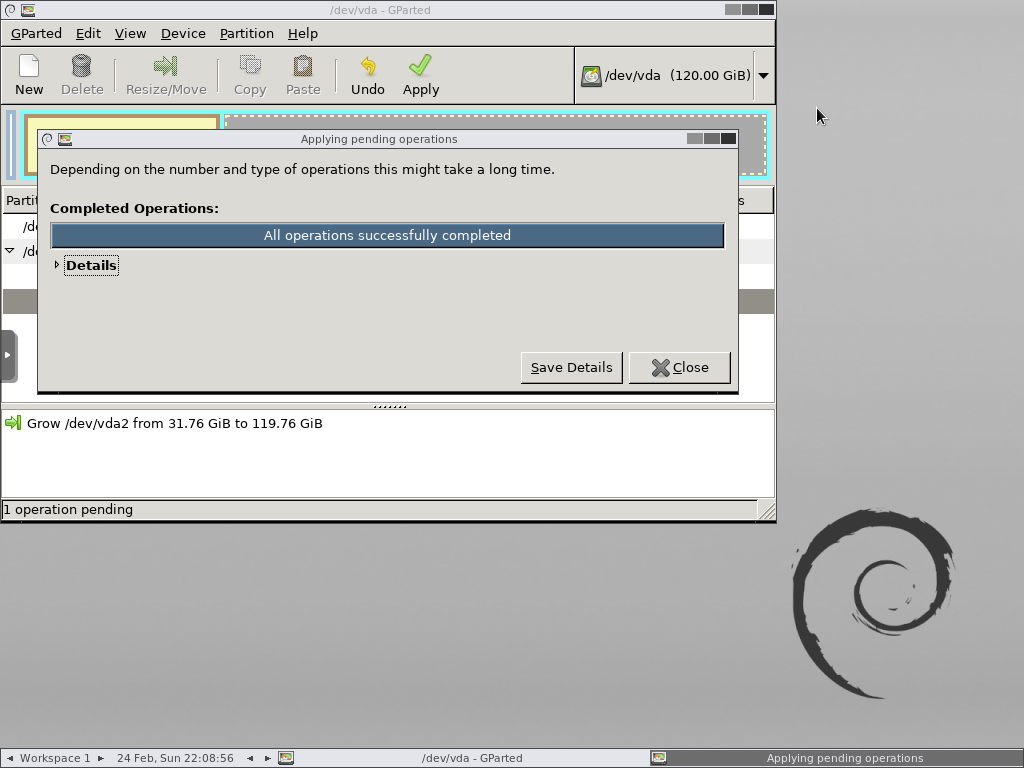
2.4) Right click to deactivate (unlock) both extended and lvm2pv

2.5) Re-size the "Extended" File-system


2.6) Re-size the lvm2pv File-system

2.7) Apply changes
2.8) Open Terminal with root privileges, at terminal:

2.8.1) lvdisplay
2.8.2) lvextend -L+XG /path/to/lv
Where X is the amount of storage to be added.

3) At the VPS Management Area:
3.1) Change the ISO to NONE
3.2) Stop and start the VPS

4) At noVNC Console or SSH
4.1) fdisk -l
4.2) resize2fs /path/to/filesystem/dev/mapper/..
4.3) df -hT

5) Done! :)
This tutorial is made in case you need to re-size your file-system and partitions on your installed OS.
In case you wish to have a fresh install, which will use the full storage, please let us know.
It can be performed by our staff at anytime.
